Hand-Drawn Floor Plan Photo to CAD: Before and After
A house plan sketched on paper, photographed, and converted into CAD linework. Compare the original photo with the generated result, including room divisions, door swings, windows and bathroom fixtures.
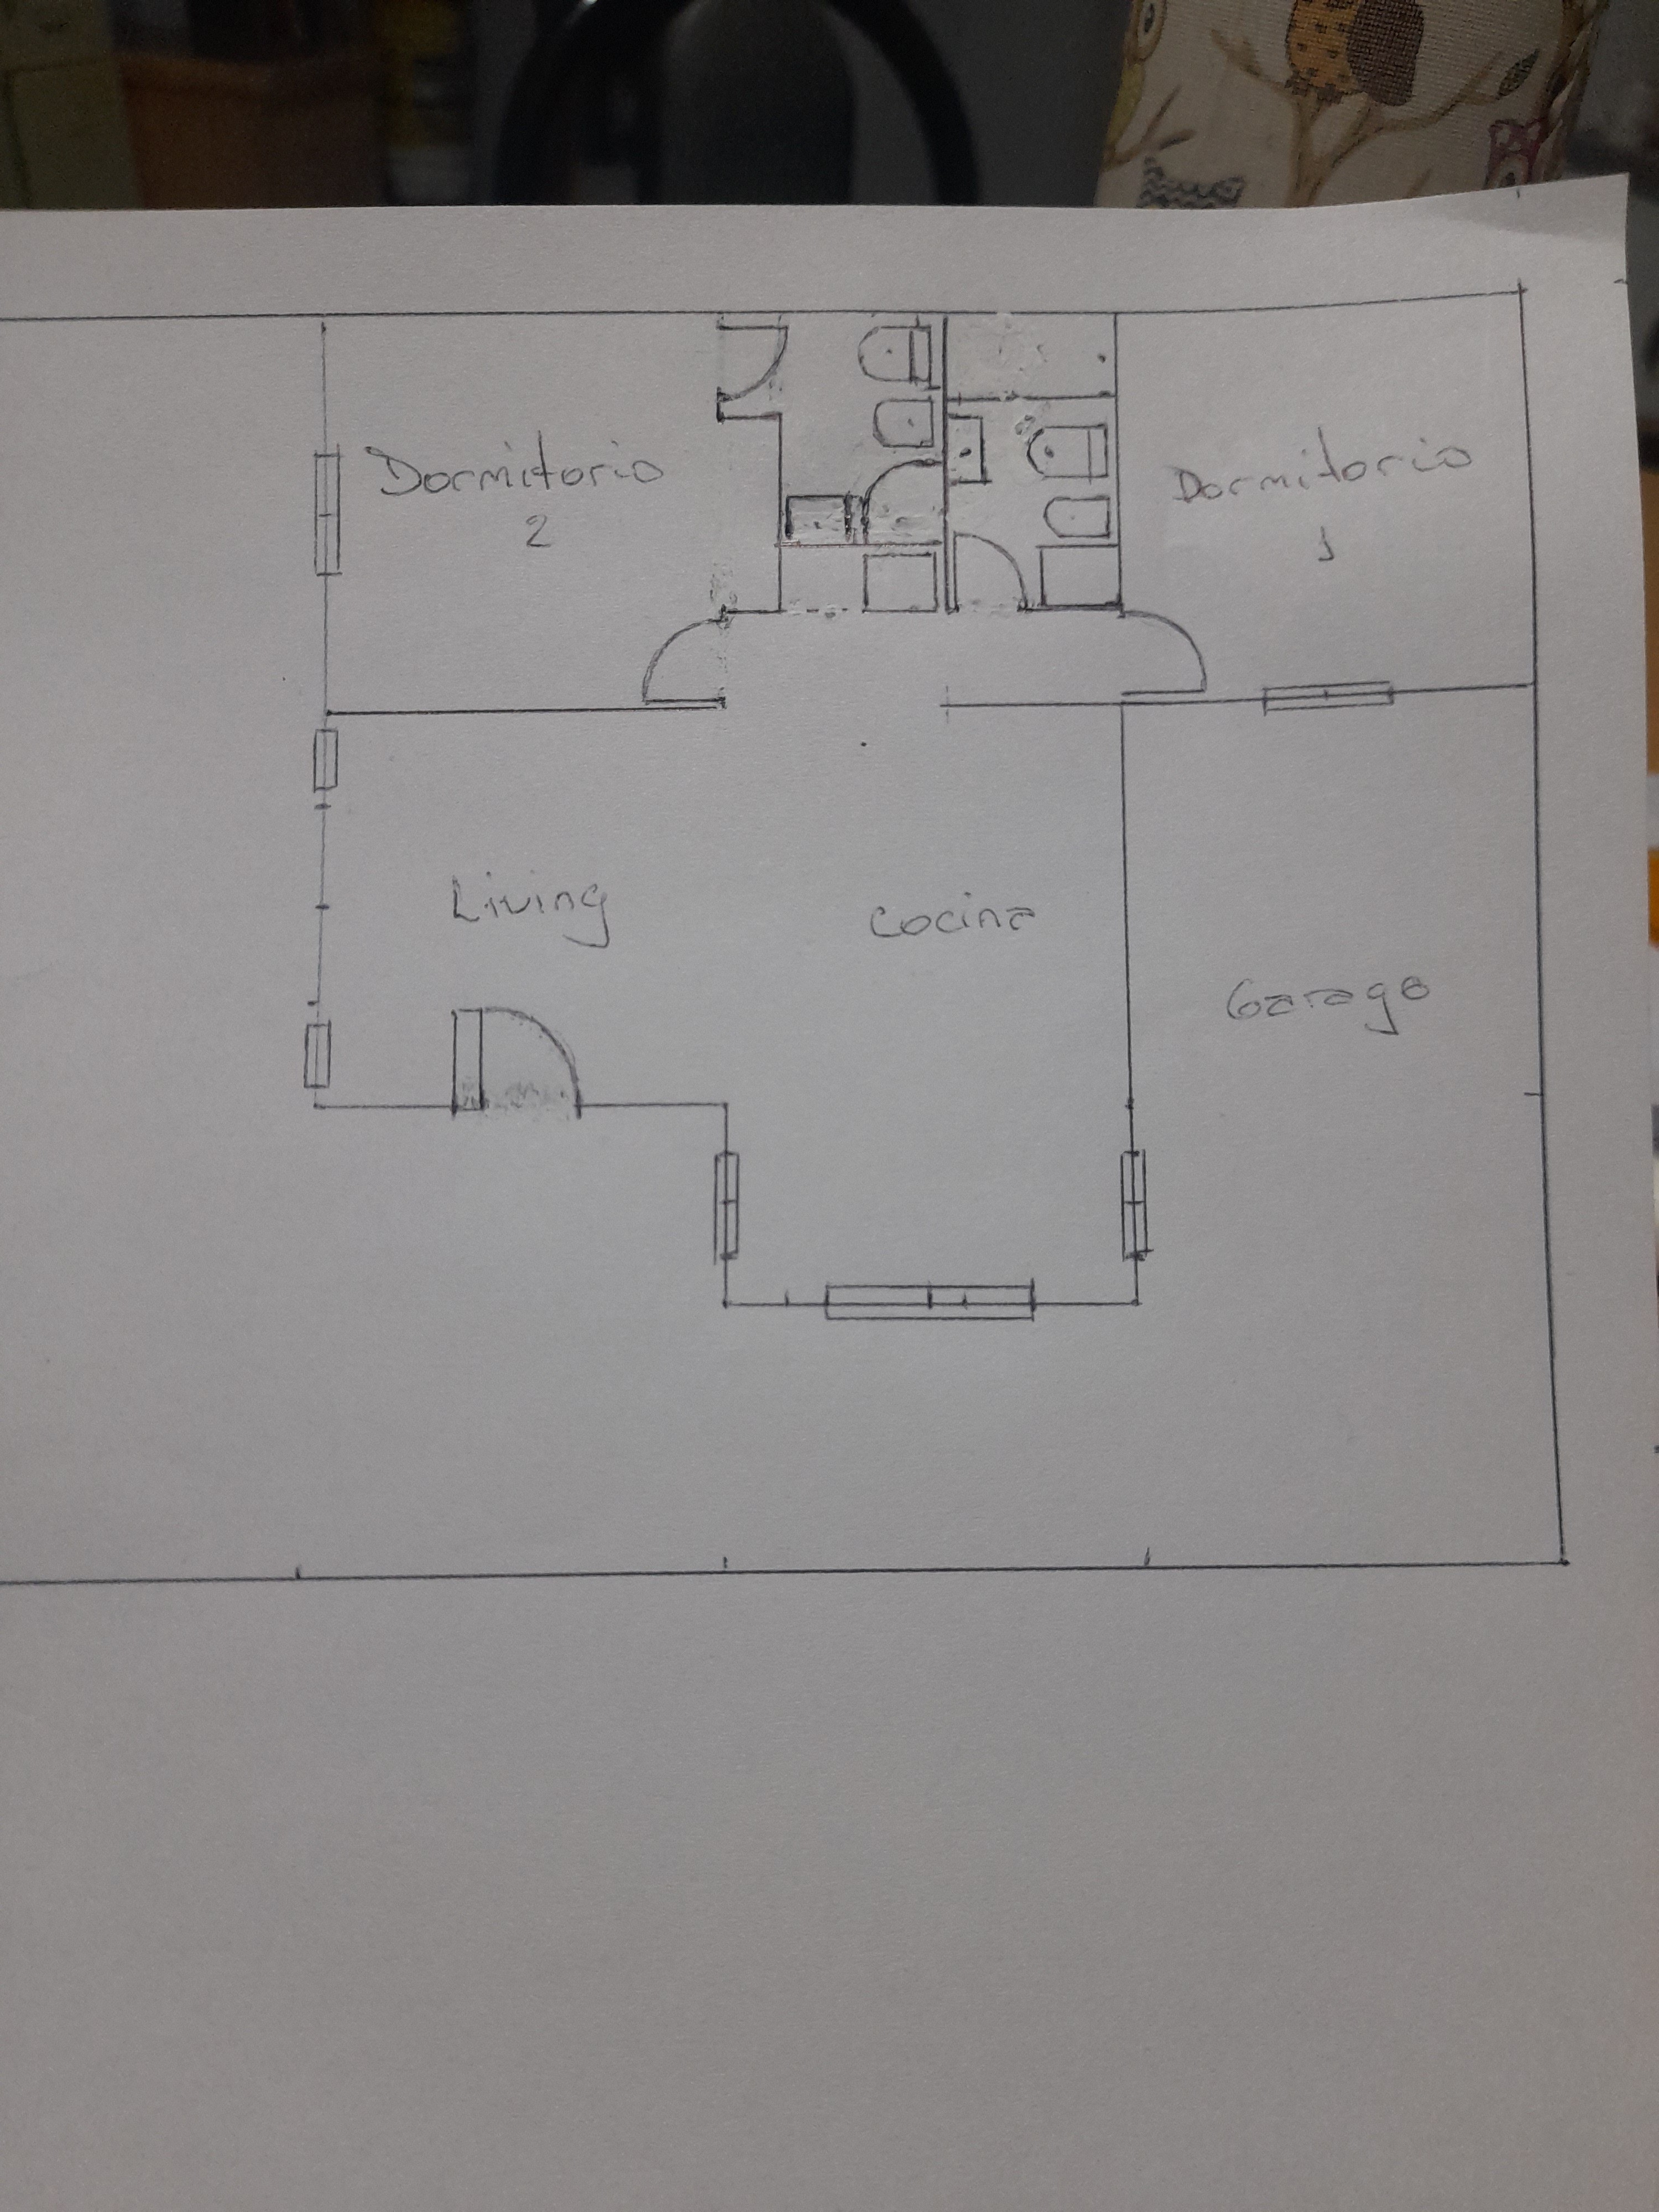
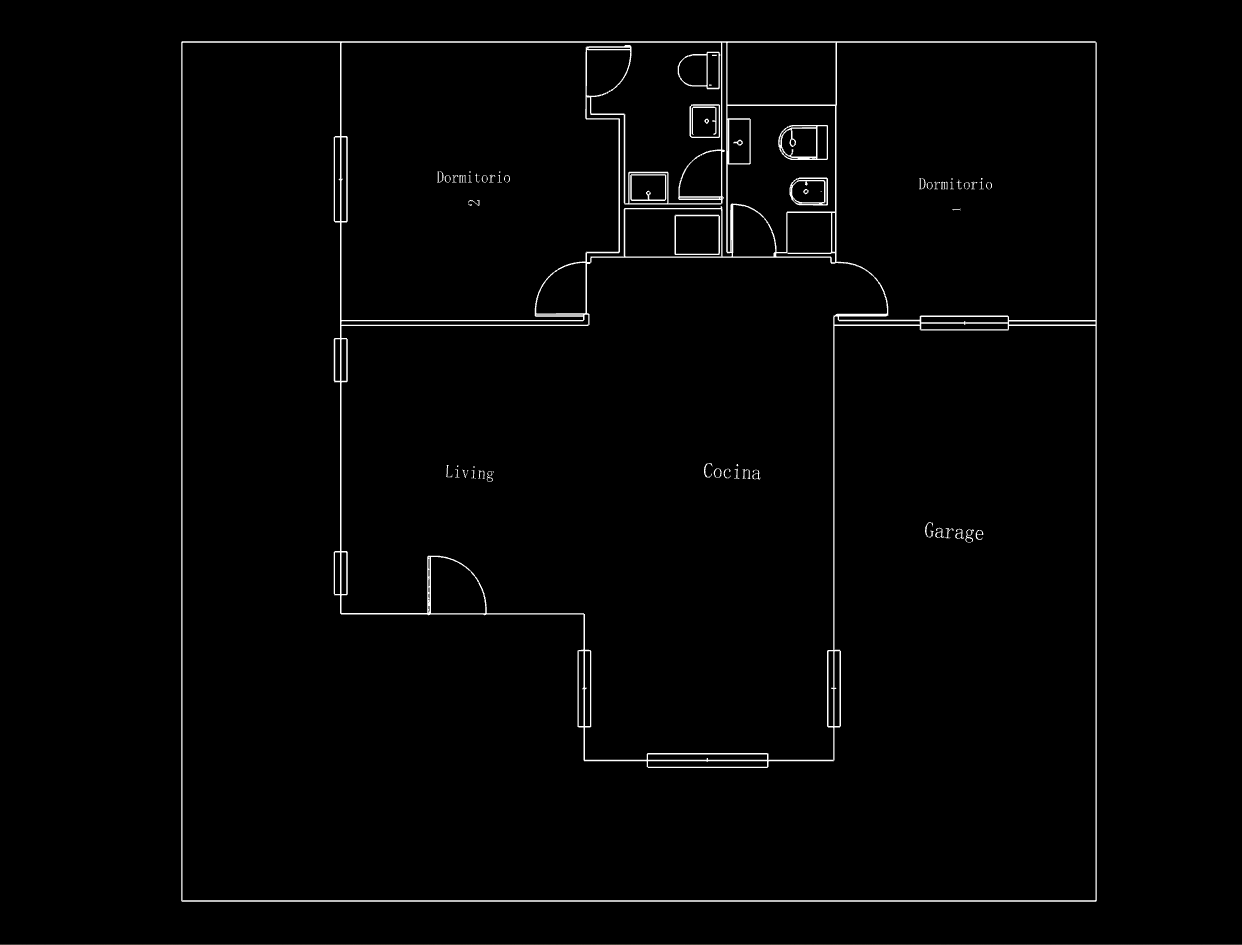
Open the original photo or the full-size CAD preview for a closer look.
From a paper sketch to CAD linework
The source is a photograph of a hand-drawn floor plan with handwritten room labels. Two bedrooms sit across the top of the plan, with bathrooms between them. The living and kitchen area occupies the lower-left and central portion, while the garage is on the right.
In the result, the main room arrangement remains recognizable. Door swing arcs, window symbols and several bathroom fixtures are visible as linework on the dark CAD canvas. The preview also shows room labels such as “Dormitorio”, “Living” and “Cocina”.
Try it with your own floor plan photo
- Lay the paper flat and photograph it straight on, keeping wall lines, openings and handwriting clear.
- Upload the photo to ImageToCAD and generate the CAD result.
- Open the drawing and continue organizing the layout, linework and labels for your project.
Check the drawing against the source and verified measurements before use; construction work requires professional review.
Compare with a furnished floor plan
Case 112742 starts with a furnished presentation image rather than a photographed paper sketch. Explore both examples to see how different source images look after conversion.
Convert your own floor plan photo
Upload a paper sketch or floor plan image and explore the CAD result.